How to Organise Your Own DIY Spirit Tasting
From Aging Alone to Sipping Together
You’ve aged the bottles. You’ve tested the flavors. Now it’s time to bring people in. A DIY spirit tasting isn’t about showing off — it’s about sharing the journey. The work you put into aging becomes even more rewarding when others get to experience the results. And whether you’re hosting two friends or ten, it doesn’t take much to make it feel legendary.
Keep It Focused, Keep It Fun
This isn’t a lecture. It’s not a wine seminar. A spirit tasting should feel relaxed and curious, with just enough structure to make it meaningful. Pick three or four of your best DIY batches. Ideally with contrast — maybe one aged on bourbon oak, one on Islay, one on calvados. Pour small. Talk flavor. Laugh when someone says “banana bread.” Agree when someone says “holy sh*t, this is good.”
Guide the Experience
You don’t need tasting cards or fancy menus — but a little context goes a long way. Tell the story behind each batch. What spirit did you start with? What chips did you use? How long did it age? What surprised you about the result? People connect more when they know what they’re drinking came from time and care — not a factory line.
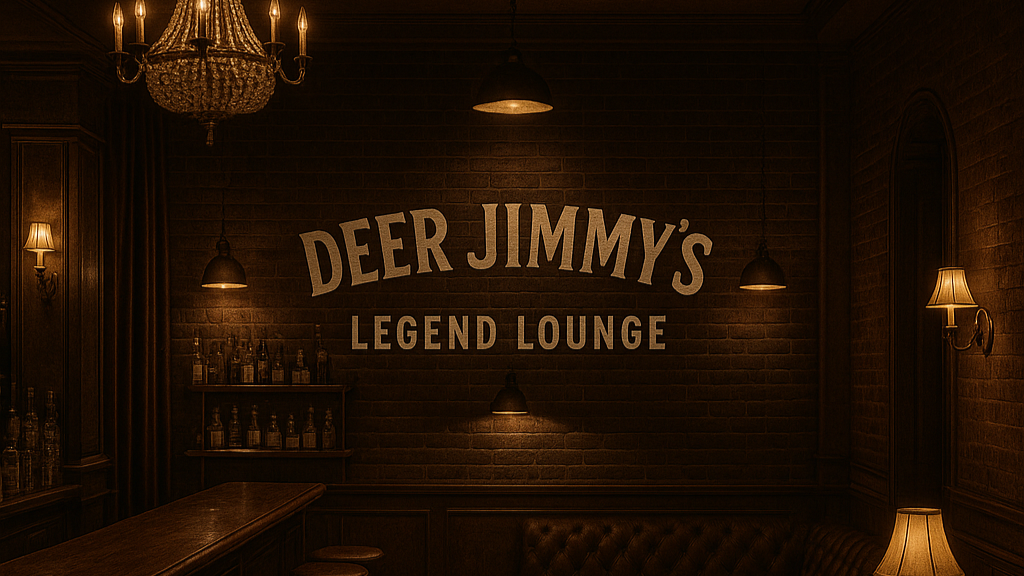
Make It an Event, Not a Checklist
Create an atmosphere. Dim the lights. Put on a playlist that matches the mood — blues, soul, old rock, even dark jazz. Offer a few simple snacks that won’t overpower the drinks. Aged cheese. Salted nuts. Good bread. Let people linger between tastings. Don’t rush to the next pour. The real magic happens in the silence after a good sip.
Your Craft, Shared and Celebrated
A DIY tasting is more than just sampling what you’ve aged. It’s proof that you made something worth talking about. It turns a shelf of bottles into a night of stories. And it reminds everyone at the table that good spirits don’t have to come from Scotland, Kentucky or Cognac — they can come from your kitchen. And your hands.


